We were robbed a couple weeks ago. As far as robberies go, the outcome was about the best it could be. It could have been much worse. No one was hurt, and the jerk only stole $60 in cash (which was a donation for Because of Ezra a friend had given us!) Still, it was dangerous for our good friend who was watching our house, and the feeling of someone walking into your home to take your things and put your family at risk (he had priors for violence, too) is more violating than I realized it’d feel. Robyn has been noting our need for some sort of security system for a while (I’m often away for a day or two and she’s by herself in the house), so I set to work getting SmartThings up and running with door sensors and external cameras.
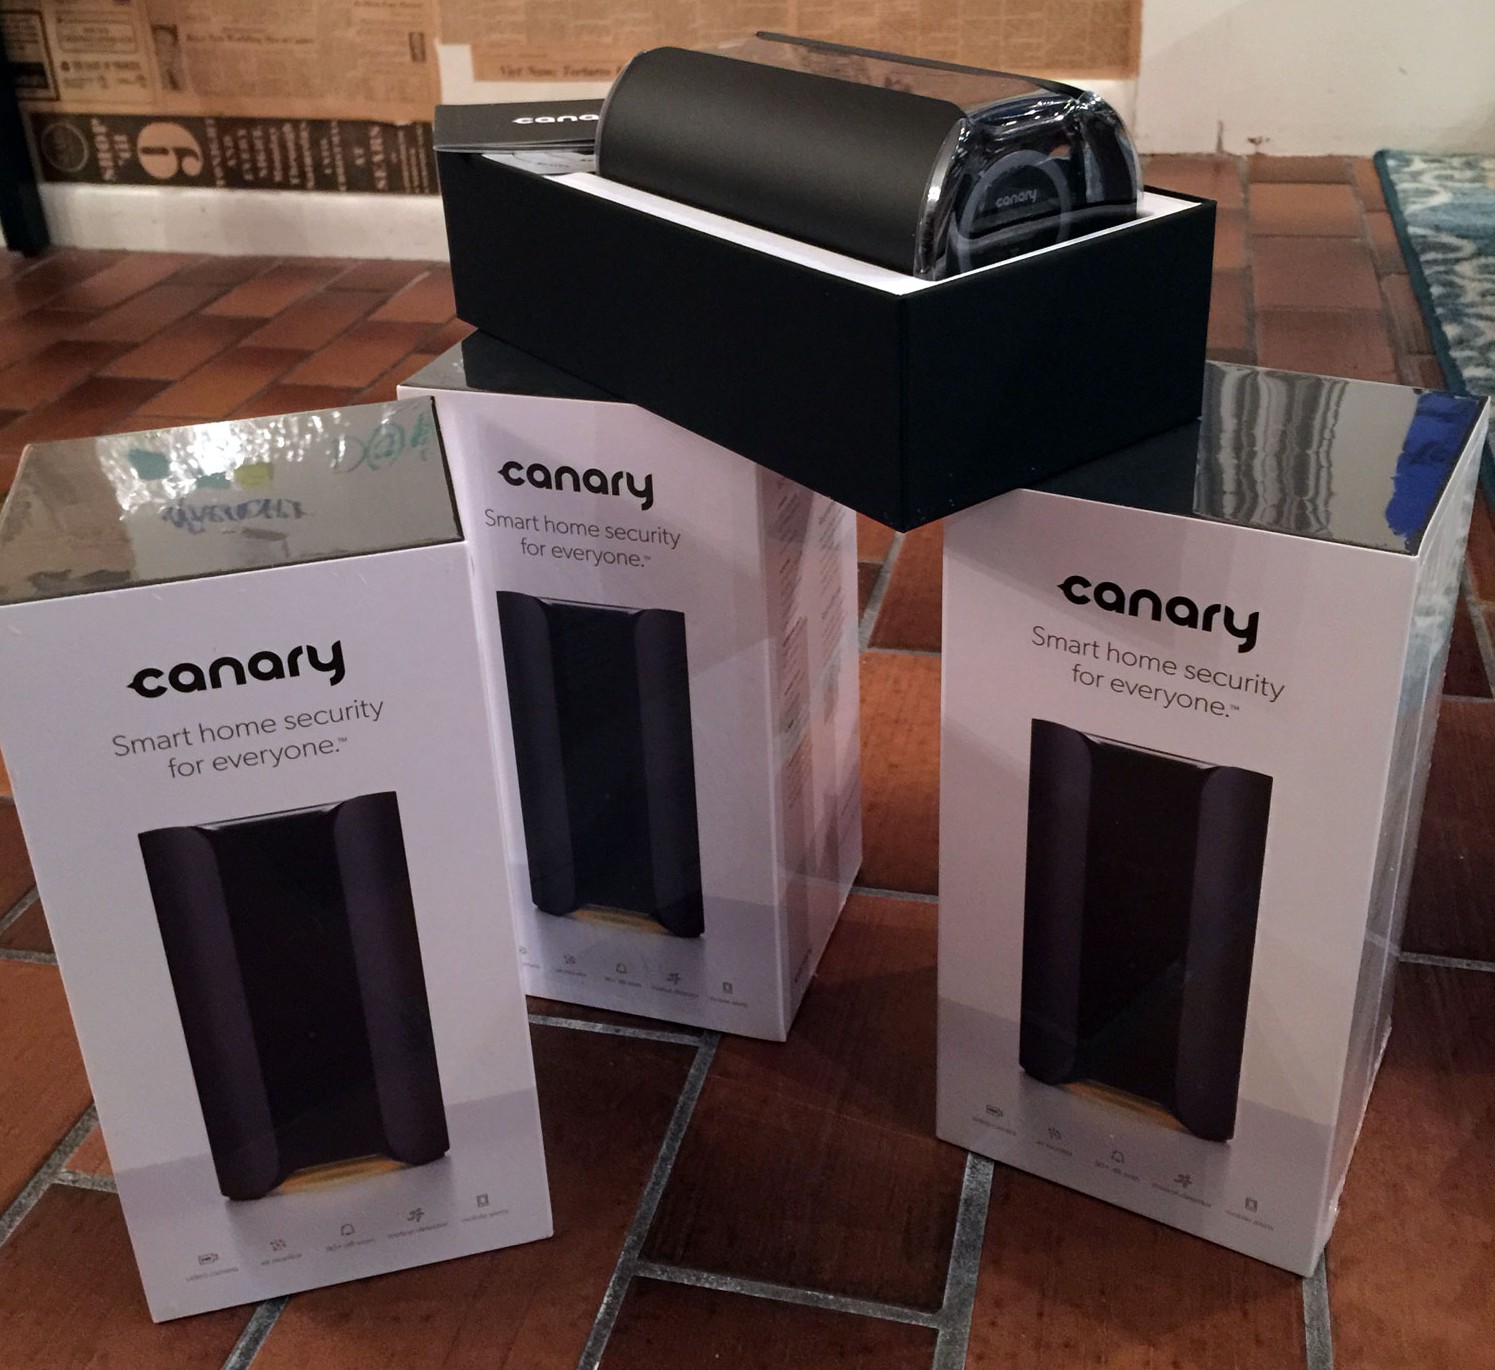
Just as I finished my second weekend running cable in the attic and drilling holes in things installing, the Canary’s I backed through Kickstarter (in AUGUST OF 2013!!!) came in. Perfect timing (well, a week before the robbery would have been perfect timing).
Since I’m among the first to finally get the Canary devices, I’ll share my thoughts on setting them up and using them so far.
In the Box
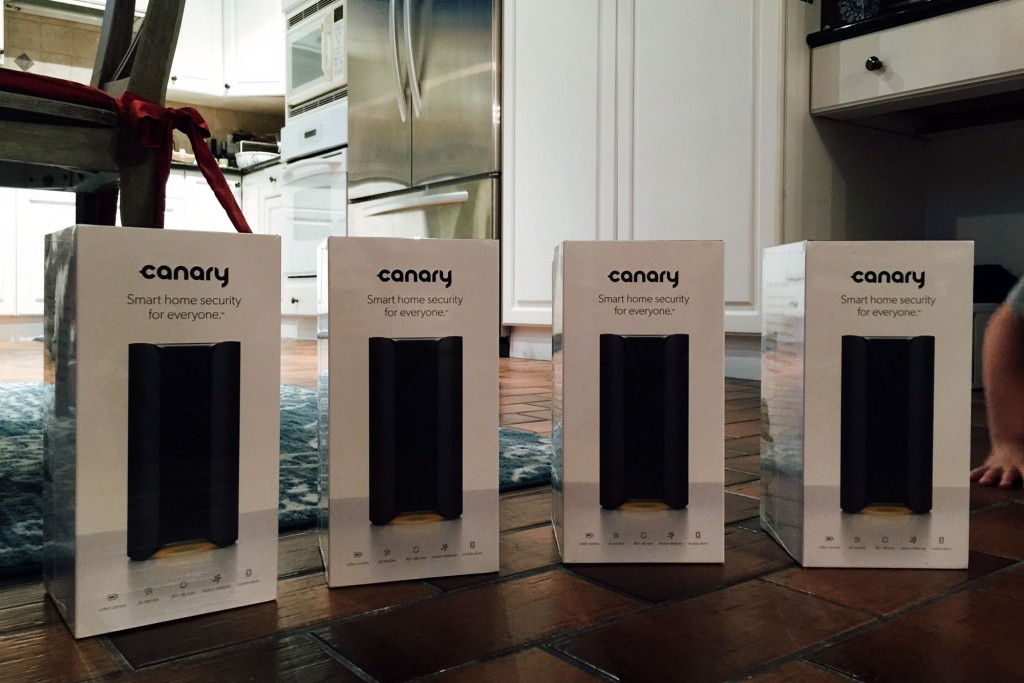
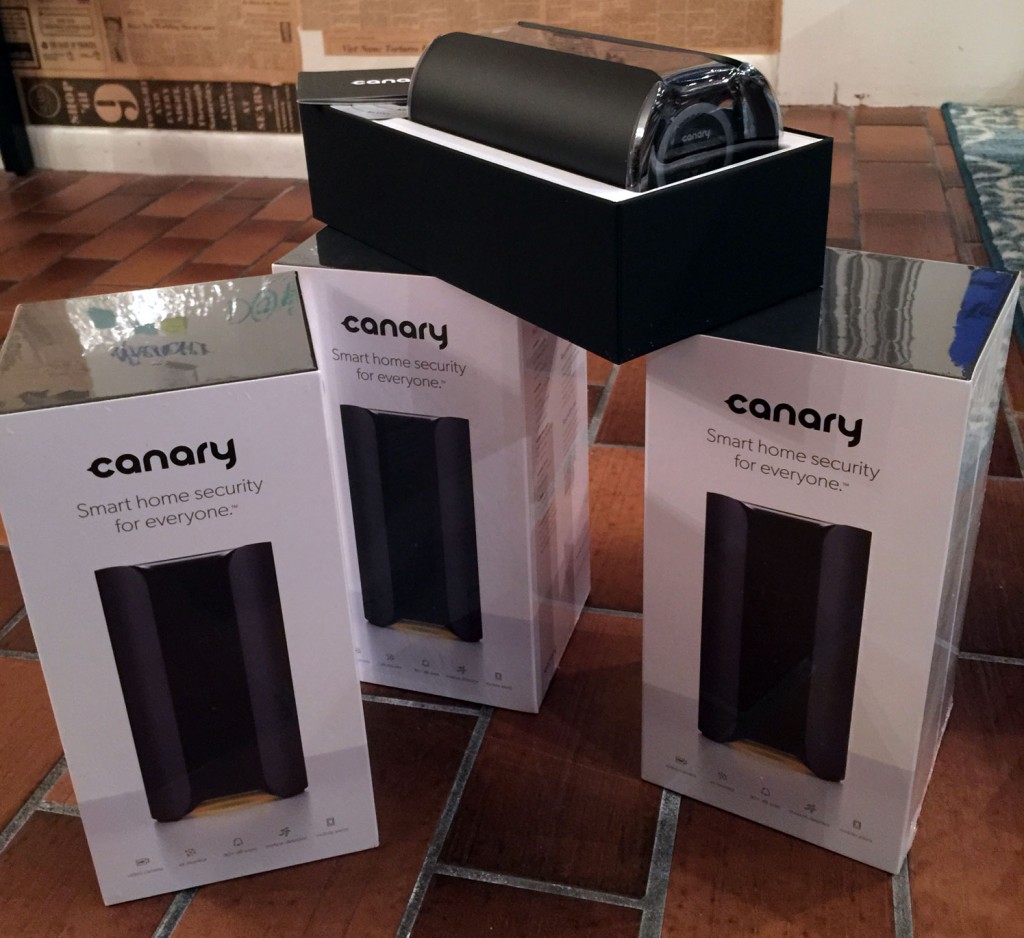
The packaging shows Canary has a great design team. Clean lines, great presentation, and opening the box immediately shows off the actual Canary. There’s a protective piece of plastic over the top and bottom, and another that you peel off the glass.
Power is a microUSB to USB cable, coupled with a USB to AC outlet plug. There’s a yellow 3.5mm to 3.5mm cable which is used in setup of the device, and a small instruction book. You also get some “Protected by Canary” window stickers to display for potential crooks to see.
Setup
I had a fair amount of difficulty getting the Canary devices set up. The process (when they get it working smoothly) is slick – you open the Canary app on your (iOS/Android) device, and tell it you’re setting up a new Canary. It will ask you for the details to your WiFi network, require you to connect a yellow 3.5mm cord (included) from your phone to your Canary (no WiFi hacking of people’s systems there – smart), and supposedly bam, you’re up and running.
However, the first device I tried to set up got stuck trying to communicate, and wouldn’t let me go forward or backwards. I wound up tweeting @canary, who was great about customer service. They referred me to their email, and within 10 minutes someone had “reset my device” and the app allowed me to retry the setup. I was able to complete the registration/setup then, but it still got stuck on the final “Update Complete!” screen without any Done button or next. I had to completely close the app, re-open it, and then check my list of cameras to see it was, in fact, operational.
There’s also an annoying limitation – Canary doesn’t work with 5GHz WiFi networks. I use that WiFi mostly in my home, but do have a 2.4GHz network as well. I switched the network my iPhone was connected to, and started the setup – no problem.
I set up a couple other Canary devices, with more success now that I knew the little tricks to have setup go smoothly. I still ran into the “Update Complete” with nothing to do issue, but closing the app out and re-opening showed the connection had in fact worked. After the connection is established, there’s a good 5 minute period where the app tells you Canary is updating. It downloads new firmware, restarts, then seems to restart again after a while. This is a 5 step process (on the app – 1 of 5, 2 of 5, etc) but some sort of progress bar would be extremely helpful in app here – staring at the screen stuck on step 3 of 5 for 3 and a half minutes really winds up feeling like something stalled, and I imagine many people will just leave the app thinking it’s stuck (at some point in that the first time I tweeted @canary again it was stuck). All in all, you wind up with about 15 minutes from opening the box to when you’re viewing live from your Canary app.
The App
Canary’s app is well designed and easy to use (once everything is set up). Notably missing is a thumbnail view which allows me to easily tap any of my cameras to view them – you have to swipe
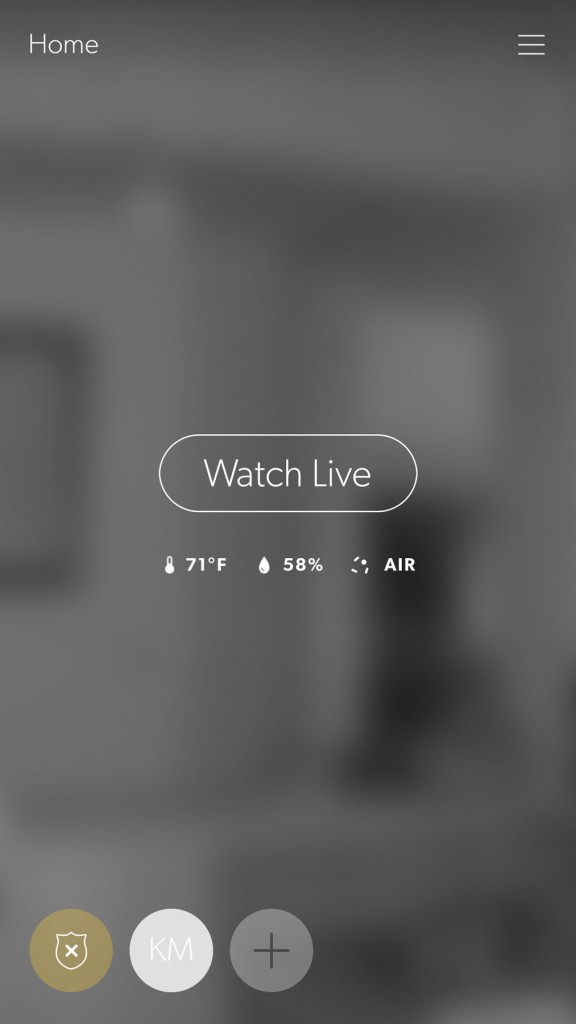
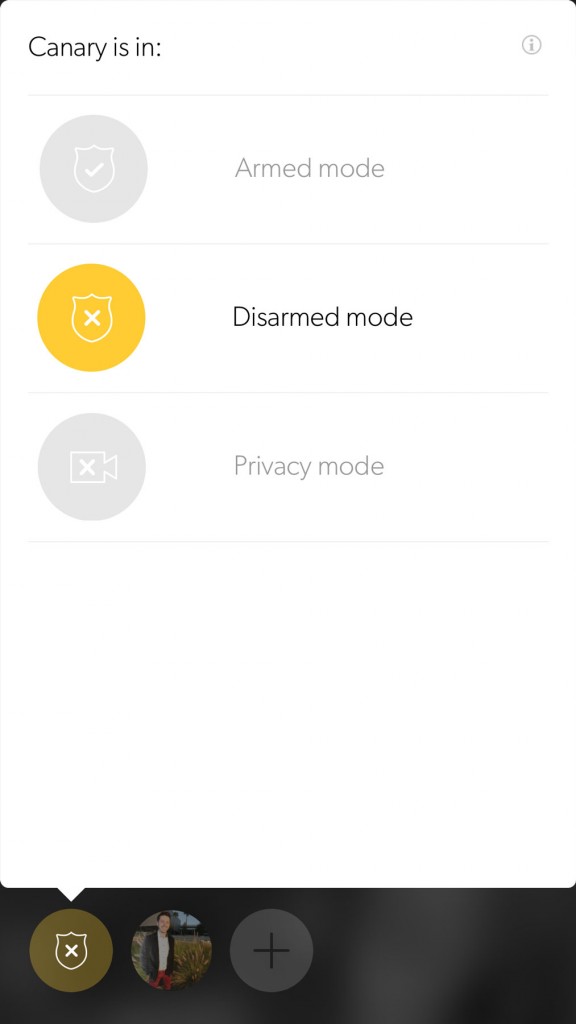
You set 3 different “modes” – Armed, Disarmed, or Privacy. Armed mode will alert you to any motion or notable activity by sending a push notification to your device. Disarmed mode is for when someone is home, motion activity is still recorded, but you’re not alerted. Privacy mode stops any recording, but you can still view camera feeds from within the app. The recording allows you to go in through the app and mark each activity as “Everything is fine” or “Sound the siren.” Canary will supposedly learn as it goes, getting better at knowing your home and when activity is suspicious.
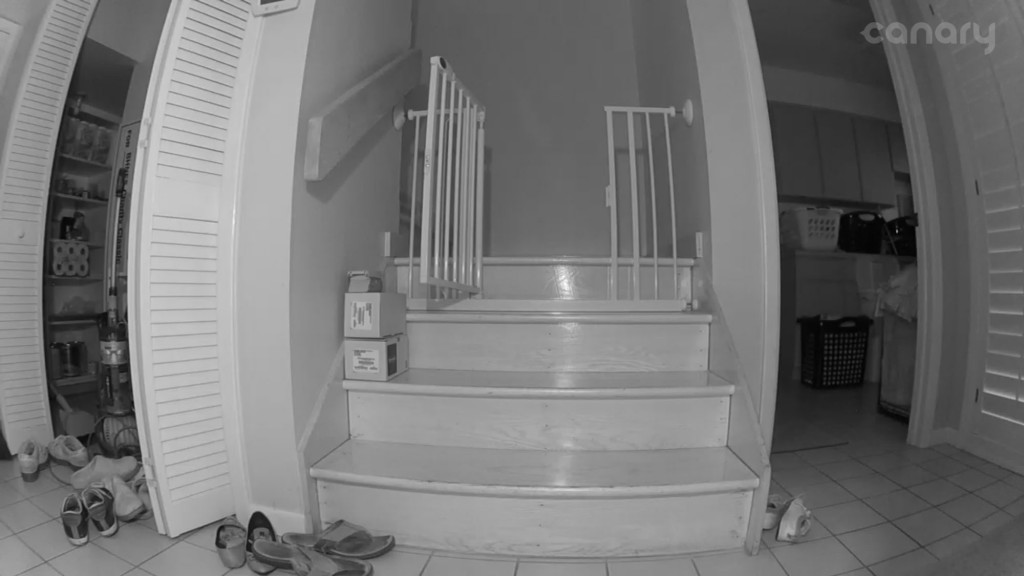
The quality is great both in the dark and daylight. Infrared lights ring the camera when the lights go out, and a soft yellow glow is under the Canary whenever it’s on.
The Canary supports two way audio (edit: no it doesn’t. it supports listening, and Canary may add speaking support later, but it is not currently there), so you can both hear and speak through them. I haven’t tested speaking, but (edit: because it’s not there) the audio is clear and strong incoming.
Overall
I also set up external IP cameras during our “let’s set up a security system” couple weeks, and they’re an absolute bear compared to Canary (see what I did there, animal references). Canary’s current setup has some bugs, but when those are ironed out it will be a very simple process. No port forwarding, DHCP reservations, etc. Also because of that, it doesn’t support IP camera standard protocols (meaning I can’t use the same app I monitor my external cameras to monitor Canary). Canary wants to be a closed ecosystem, and does a great job of monitoring the inside of your home. I’d love to see some integration with SmartThings, or some way to let me further unify the connected devices in my home with the Canary product.
All in all, these are a great solution for indoor security. Easy to setup and monitor, great backend they’re building, and much more than just a camera, with many sensors built in. They expect to ship retail in February, and are $249 each at canary.is. Congrats, Canary team!
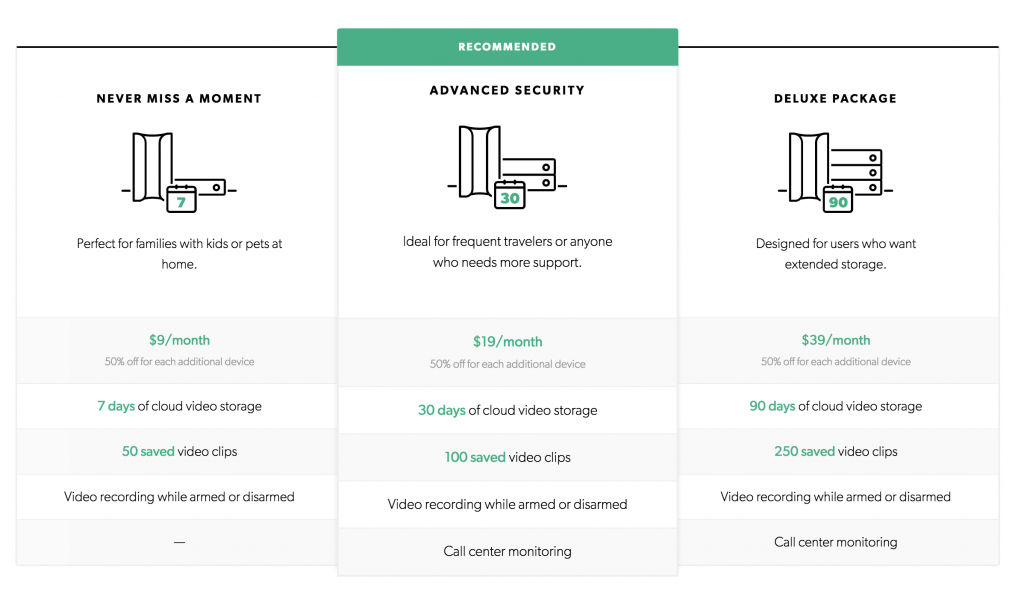
edit: I should also mention, Canary has a pricing plan for recording. It ranges from $9-39/month (see image below), but also will work without paying anything. However, the free plan doesn’t allow you to, say, set up recording to a NAS or FTP, so you simply don’t get any recording of events.
3 replies on “24 hours with Canary”
[…] was really cool to read a blog post that one of our backers wrote about his experience using Canary so far. Thanks for sharing, Kyle! We love hearing the details like this and seeing people share their […]
Thanks for sharing this. Sorry you were robbed. I have a suspicious neighbor that just moved in and want to be sure my family and pets are protected when i am not at home. I am considering Canary but want something very soon and it looks like it may be awhile before they ship new orders. Again great read, esp about the difficulty in initial setup as others seem to be having similar issues.
It's true the Canary can't access 5 GHz networks but after setup there's no reason your iPhone has to be on a 2.4 GHz network, at least not that I know of.