I grew up in the era of NES and SNES, and have great nostalgia for all those 80s and 90s games. Recently I saw a bunch of handheld gaming systems making the TikTok shop rounds, stocked full of these titles (like the Miyoo Mini+, or the Anbernic RG35XX, or the SNES Classic Mini).
I went down a rabbit hole of the modern state of emulators (the software that plays these old games on computers), and discovered Batocera, a Linux operating system tweaked specifically for a console-like experience. You can install emulators on pretty much any computer, but Batocera has a sleek experience where the whole computer basically becomes a retro gaming system, operated with controllers instead of a keyboard and mouse.
My setup has games from Atari, NES, Game Boy, Super Nintendo, N64, Game Boy Color, Game Boy Advance, Sega, Sega Genesis, Sega CD, NEO-GEO, and PlayStation. You can pretty much get emulators for any old game system (up to XBOX 360 and beyond – but the newer systems need more powerful computers and GPUs to run on).

It wound up taking me over a week to figure it all out (and about $220) – what system to get, where to find games (files called ROMs), getting the right accessories, etc. So here I am making a guide. If all you want is the quick list of what I used, here you go (I’ll go into more detail on each of these in this post):
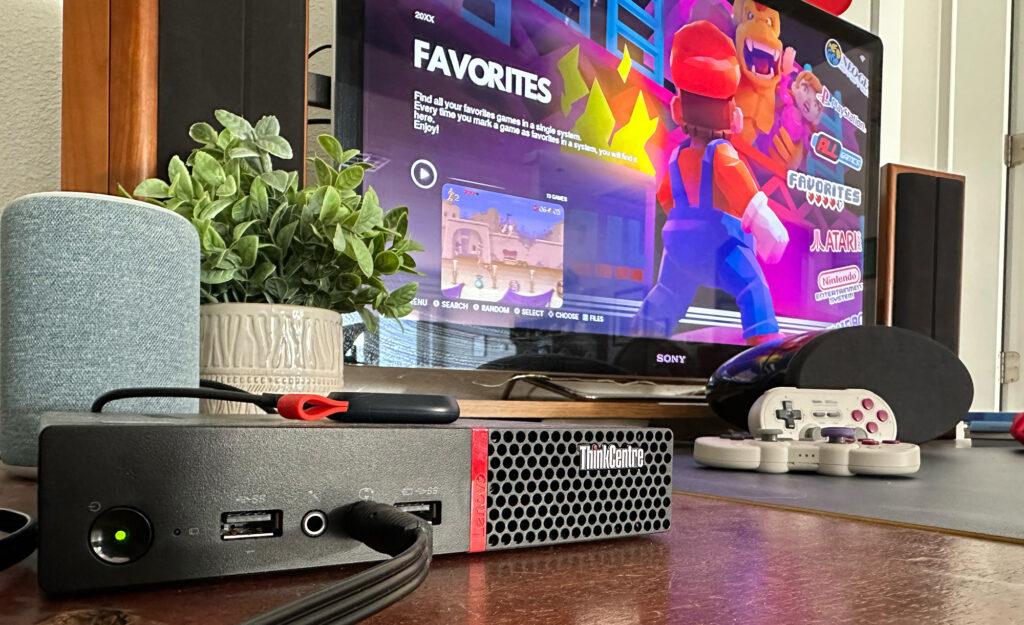
- Lenovo ThinkCentre M715Q – 10VHS0G000 – AMD Ryzen 3 PRO 3.2GHz – 8GB – 256GB eBay (a steal at $64.14 shipped – here’s Batocera’s supported hardware list)
- 8Bitdo Sn30 Pro Wireless Bluetooth Controller (G Classic Edition) https://a.co/d/iEf8ets (currently $44.99 each – I bought two at $35.99 each on sale)
- TP-Link Nano AC600 USB Wifi Adapter (unless you’ll plug your computer into an Ethernet port for internet) https://a.co/d/4yBERZh ($12.99)
- 4K DisplayPort to HDMI Cable 3.3FT https://a.co/d/8pHIpLm ($7.9)
- ASUS USB-BT500 Bluetooth 5.0 USB Adapter https://a.co/d/0FPu6wu ($15.68)
- SanDisk 1TB Portable SSD https://a.co/d/ahE2iiP ($49.99)
- Basic wired keyboard and mouse https://a.co/d/iROZvFK ($13.99)
- ROMs from https://archive.org/details/tiny-best-set-go and Myrient.
I’ll separate into 3 parts: 1) what you need to get, 2) how to install Batocera, and 3) how find and install ROMs (games) and tweak Batocera.
What you need.
I wanted a console like experience, where we control and play with controllers on a TV. To do that, you’ll need:
- A TV. Duh.
- A computer. This will be your actual gaming system, which you’ll install the Batocera operating system on. There’s an official list of Batocera supported hardware here. From what I gathered in reddit threads, getting a decent GPU matters. I found a deal on eBay for a Lenovo ThinkCentre with a Ryzen 3 GPU (folks seem to like these) and decent RAM (8 GB) and CPU (4 core 3.2 GHz). There are lots of options like this HP with a Ryzen 5 for $137 currently, or this BOSGAME with a Ryzen 3 for $119 after coupon currently.
Keep in mind the computer will need WiFi or an ethernet connection, Bluetooth, a way to connect to your TV, and a way to connect to your hard drive if you use the way I do (with an external SSD hard drive for my ROMs and Batocera). My computer was $65 and didn’t have WiFi or Bluetooth, so I had to purchase dongles to add that functionality ($12-15 each, see above list of hardware).
My Lenovo also used a “DisplayPort” connector for video out, and Amazon had an $8 cable that connected DisplayPort to HDMI so I could plug into the TV. Some computers have an HDMI out, etc. You’ll have to figure that out based on which computer you get. You can even use an old laptop or desktop if you have them lying around. I didn’t, so I grabbed a deal off eBay. - A keyboard and mouse. This is kind of annoying, as it’s only needed to install the Batocera operating system on the computer, and not needed after that. I found a $14 bundle on Amazon and tossed it in a drawer after.
- An SSD hard drive. You don’t have to have this, depending on your computer’s internal storage. The one I got had 256GB of space, and I wanted more for games. I grabbed a 1TB SanDisk SSD USB hard drive from Amazon for $50 to hold all my games (and the Batocera Linux install).
- Controllers. My sweet spot for gaming was the SNES era, and so I love the 8bitdo SN30 controllers, which are high quality modern Bluetooth (or wired via USB) controllers reminiscent of the SNES controllers. 8bitdo also makes a controller more like the N64/GameCube style if that was your jam. They both work – or most any Bluetooth or USB controller.

- ROMs. These are the actual files that are the retro games. You can Google ROMs for pretty much any old system and find tons of sites that have links. I’ll dive more into that in the installing ROMs/games systems.
Cool. Once you’ve ordered everything and have all your hardware ready (TV, dedicated computer, WiFi/Bluetooth dongles if needed for your computer, cable to connect computer to TV, hard drive if you’re using it, keyboard and mouse, controllers, at least a few ROMs), you’re ready to set it all up.
How to install Batocera.
Batocera is a Linux operating system modified for a console-like retro gaming experience. (Linux is an operating system, just like Windows or OS X or iOS).
There’s a great official guide on how to install Batocera on an SSD hard drive, which I followed. It’s super detailed (with screenshots), so I’d advise following it – no need for me to recreate it here. The basic steps are:
- Download Raspberry Pi imager for your regular computer.
- Download the correct Batocera image for your gaming computer you bought. Batocera’s downloads page has a list of popular images at the top – for me it was the first option: Desktop, Laptop, NUC and Intel-based Apple Computers.
- Flash (write) the Batocera image onto your SSD hard drive.
- Connect your SSD hard drive to the gaming/mini computer you’re setting up (mine just plugged into a USB slot in the back), turn the gaming /mini computer on while connected to a TV out and with your keyboard and mouse also connected (again, mine were USB).
- Follow the on-screen instructions to install Batocera on the gaming/mini computer.
Once that’s done, you’ve installed Batocera! Leave your SSD drive connected (mine never comes out – it’s just always there). Next up is configuring Batocera and installing games.
Configuring Batocera and installing ROMs (games).
To get games on your Batocera system, first you gotta find them, then you have to get them on your gaming / mini computer.
Rather than download hundreds (thousands!) of games individually, I started with a 5+ GB base set from https://archive.org/details/tiny-best-set-go which had a TON of ROMs (and took hours to download), and then spent time on Myrient’s site grabbing individual ROMs I loved that weren’t in that big set. ROMs are usually organized by game system, then alphabetical.
I downloaded all these onto my personal computer, and then transferred them via WiFi to my Batocera computer. To do that, you need to set up WiFi on your Batocera computer (or if you’re plugged into ethernet, you can skip this part and get to connecting to files).
—————————————————-
First, we need to connect and configure at least one controller. If you prefer videos for any of these, you can Google “connect Bluetooth controller to Batocera” and get a bunch of tutorials. But basically, it’s like this:
- Put your controller in pairing mode (check your controller’s manual for how to do that). Here’s the Batocera supported controllers list.
- Then in the Batocera menu, go to CONTROLLER & BLUETOOTH SETTINGS → PAIR A BLUETOOTH DEVICE (note it may pop up already when. your controller is in Bluetooth mode). You may need your keyboard and mouse for this – after you’ve got a controller set up you won’t need those anymore.
- Batocera should ask you to “map” your controller, which is good. They’ll ask you to press which button on your controller maps to each button they mention. This is a one-time process per controller.
Ok, now we need to turn on and configure your WiFi. In the Batocera menu, go to MAIN MENU → NETWORK SETTINGS → ENABLE WIFI. Then you should see your WiFi, and be able to connect to it and input the password.
Once you’re connected, make a note of your Batocera computer’s IP address. It’s found in the menu, at MAIN MENU → NETWORK SETTINGS → IP ADDRESS.
**** NEED TO WRITE HERE ABOUT WIFI FILE BROWSING ****
—————————————————-
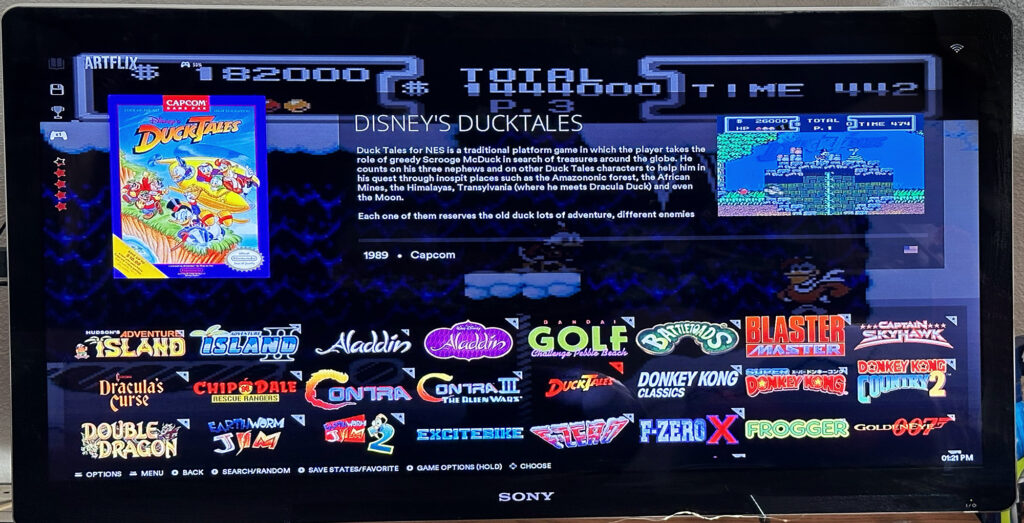
With WiFi working, you can browse the directory of Batocera themes and install one you like. I think the Artflix one is great. In the menu, go to UPDATES & DOWNLOADS → THEMES. Find Artflix and install it.
I configured it further once installed and activated by **** NEED TO WRITE HERE ABOUT ARTFLIX CONFIGURATION ****
—————————————————-
Once you’ve got your your theme set up, and ROMs installed, there’s a final step to really pretty everything up. If you notice while looking at the games list after installing ROMs, you’ll just have a bunch of default images and text. You can open and play any game, but you can make this look much nicer by using a scraper.
A scraper is basically an online database of ROMs and associated images and information (screenshots, videos of the game, descriptions, and more). My favorite one is Screenscraper.fr.
In Batocera, you can go to Main Menu > Scrape and choose Screenscraper.fr as your scraper of choice. You’ll need to create an account on the actual screenscraper.fr website, and then enter your username and password in Batocera’s menu. Then just hit Main Menu > Scrape.
Note: my first scrape had thousands and thousands of games to pull info from, and took several hours. I turned it on and went to sleep. You can re-run the scraper several times if it fails, and it’ll default to only pulling info for games that don’t currently have info already pulled and on your system.
At that point, your system is fully set up and ready to play! Have fun – it’s a blast. Here are some helpful tips I’ve found while playing in Batocera:
- Setting a hotkey on your controller allows you to press the hotkey and another button to do various shortcuts.
- Pressing the hotkey + start escapes a game back to the main Batocera menu.
- Batocera has a built-in save function within games. You can save EXACTLY where you are in the game by pressing hotkey + Y. (These can all be set to other combos if you’d like, but these are defaults).
- You can press hotkey + X to automatically load the last save point in a game.
- From the game list, you can press and hold the button you’d normally open the game with, which will open a game menu. One of those options is “save states” where you can browse and load any of the save states you’ve done.